![]() Drop Down
Menus
Drop Down
Menus

![]() Drop Down
Menus
Drop Down
Menus

Drop down menus can be used to streamline input in the data entry portion of the Inspection detail form. They are useful in forcing data conformity within each category, as well as ensuring uniformity of details. One drawback to using a drop down menu for data input is that the user may run into a situation where there is no option in the menu that fits their situation. Due to this fact it is very important to try to include a choice for all possible scenarios that might arise.
Each drop down menu is comprised of the following 3 fields:
Menu Item: the name that will be displayed in the drop down menu for selection.
Item’s Return Value: the data that will be saved into the database.
Field Color: an optional field that, when selected, will set the color of the cell background to match the color specified on setup.
Creating a Drop Down Menu
The following will walk you through the steps to create a new Drop Down Menu:
1. While on the Main Menu click Inspection Settings and then choose [Drop Down Menus].
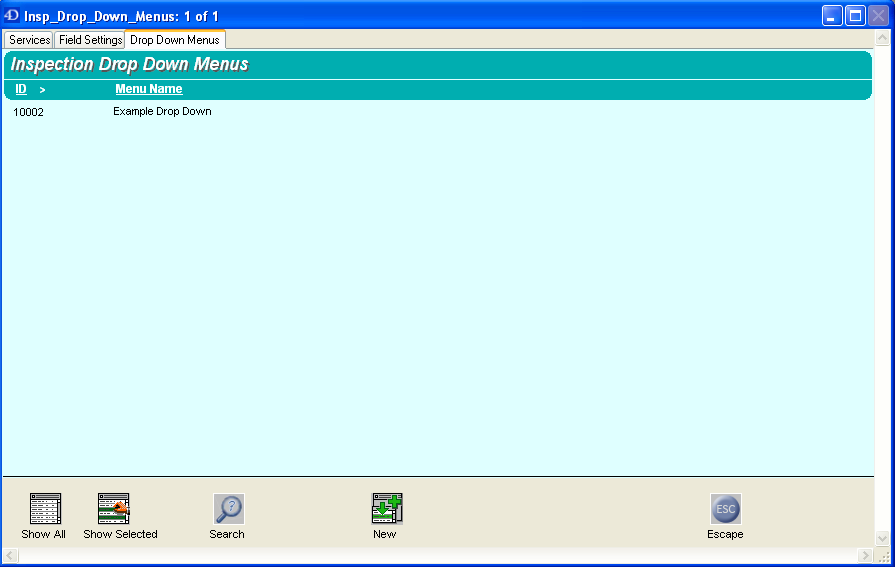
2. From the Inspection Drop Down Menu list press the New button. The detail form will be displayed for entry.

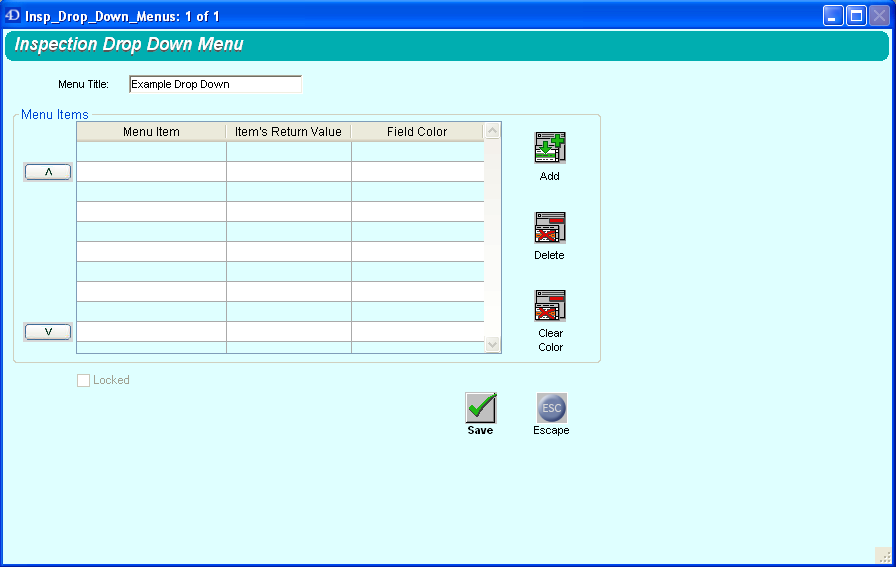
3. The first step to setting up your new menu is to select a name for it. Type your menu’s name in the “Menu Title” text box on the Drop Down menu input form.
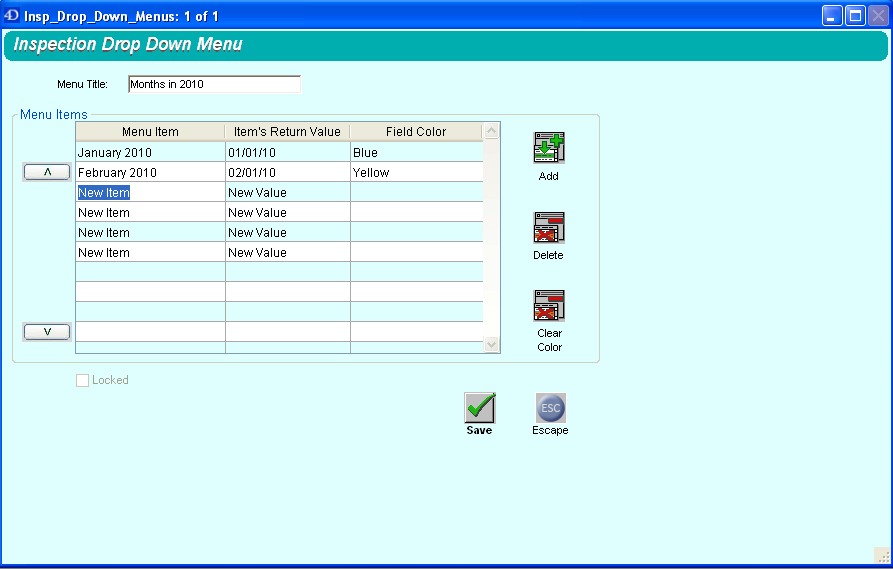
4. In order to add items to your new Drop Down menu, press the Add button. This should be done once for each value you wish to have displayed on your drop down list. For example, if you wish to have 4 choices, click the Add button 4 times.

5. Once your new menu items are created you need to enter descriptive names for them. The first field to edit is in the Menu Item column. The text in the Menu Item column is what will be displayed in the drop down list for the user. The text in this field can be any alphanumeric string but in order to avoid confusion, be sure that each item has a different name. Duplicate selections are not recommended. Double click on a cell to edit its contents.

6. The next column to edit is the Item’s Return Value column. The text in this column is what will be saved in the database for each menu option. It is important that these values be unique for each drop down menu as duplicates will create inaccurate data.
Another important facet to the Item’s Return Value field is that the value you type in the field must match the data type of the TALLYS field you will be applying the drop down menu to. Drop down menus can be used on fields of the following data types:
• Alphanumeric
• Date
• Integer
• Real
• Time
* View the glossary for a details on the above data types*
The value you should type in the Item’s Return Value column depends on the data type of the field that this menu will be used with. The following explains the different return values to use for each data type:
Alphanumeric: This field can store anything in the return value up to the maximum length of the field. (i.e. if the field is alphanumeric, length 10 it can only hold up to 10 characters)
Integer and Real: These fields can only store numeric values and therefore only numbers should be entered into the Item’s Return Value column.
Date: This field requires a special format in order to store the information properly. The Return Value for dates must be formatted as “mm/dd/yy” or “mm/dd/yyyy”, without the apostrophes, and the values for month, day and year must be numeric values. An example for September 8, 2007 would be 09/08/07. The following provides you with a visual example of how to enter dates:

Time: This field also requires a special format in order to store the information properly. The Item’s Return Value for Time must be formatted as “hh:mm:ss”, without the apostrophes, and the values for hours, minutes, and seconds must be numeric values. If you don’t require minutes or seconds then the “mm:ss” can be left blank. A few examples are:
• 14:15:30 represents 2:15pm (and 30 seconds) – “hh:mm:ss”
• 23:45 represents 11:45pm – “hh:mm”
• 7 represents 7:00am – “h”
The following provides you with a visual example of how to enter times:

7. To have a particular choice in your custom drop down menu color the cell in the data entry form when selected, you will need to modify the Field Color column. Entry into this column is completely optional. Your custom drop down menu will function even if nothing is entered in this column. The following screenshot shows how the colored fields will look on your inspection data entry form:

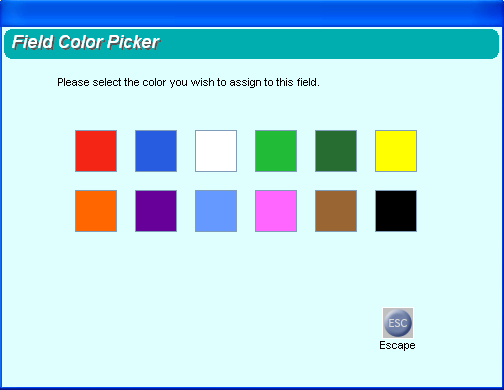
In order to set a color for your menu item you must double click the Field Color cell on the appropriate line. The color picker window will be brought up, displaying the possible colors to choose from. In order to select a color, single click your colored square of choice. If you change your mind and wish to leave the color as is, press Escape.

If you wish to remove a color which is already assigned to a row you can do so from the main Drop Down Menu input form. Simply highlight the row you wish to clear and click the ‘Clear Color’ button.